Hardware - SVBox IoT 1.0
Print SmartVanBox Case
If you don't have a 3D printer, find the nearest FabLab and print your SmartVanBox case there. Once you've downloaded the models, you can print them directly or ask the FabLab Manager for help.
We'll start with the slowest process, but don't worry, it's mostly autonomous, allowing us to continue with other steps in the meantime.
Short Steps
- Download the 3D models (*.stl files) from the Resources > Models section
- Open the downloaded files with your 3D printer software
- Optimize the print settings
- Export the print project and copy it to a USB stick
- Insert the USB stick into the 3D printer and start printing
- Remove the printed object from the printer and clean off the support material
What to Print
Inside the Models directory, you'll find all the 3D models ready for printing.
Here's what you need to print. The case consists of three parts:
| Part | Description | STL file | Render |
|---|---|---|---|
| Base | The main body of the SmartVanBox | Base2.stl |  |
| Panel | A panel to be placed inside the base, housing components like the relay module | Panel.stl | 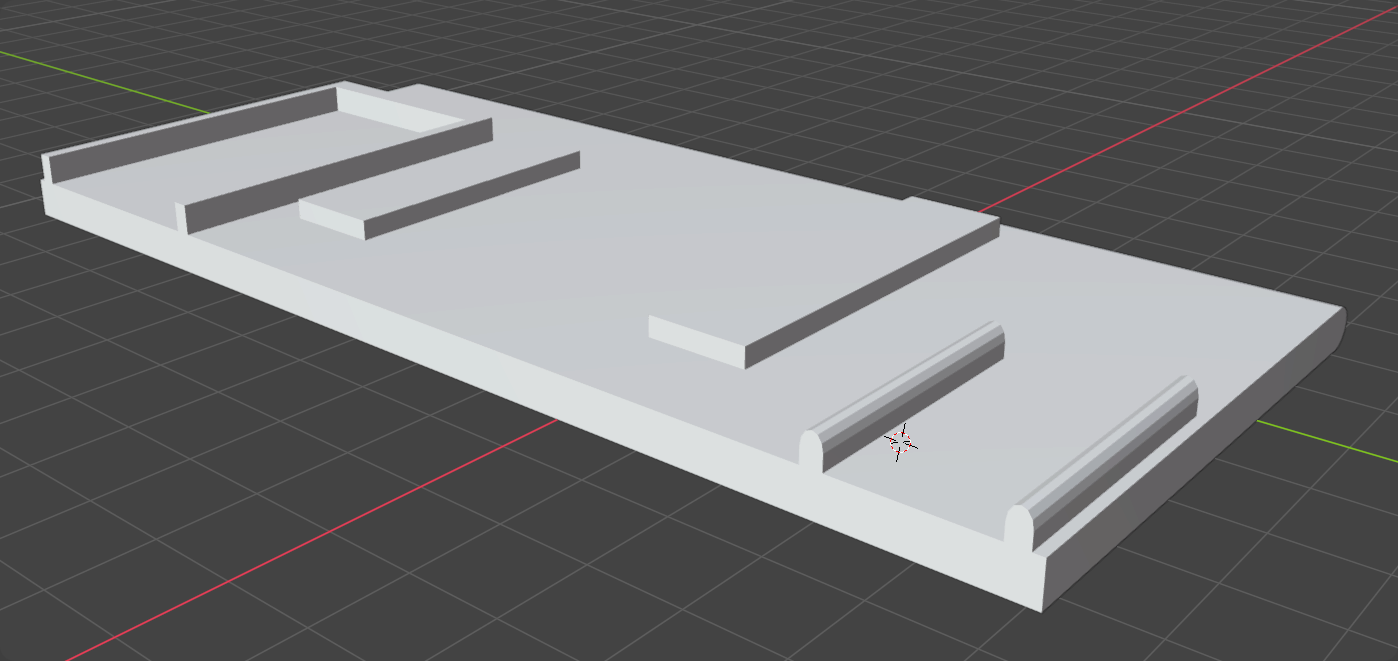 |
| Cover | The lid to close the SmartVanBox and hold the buttons | Cover.stl | 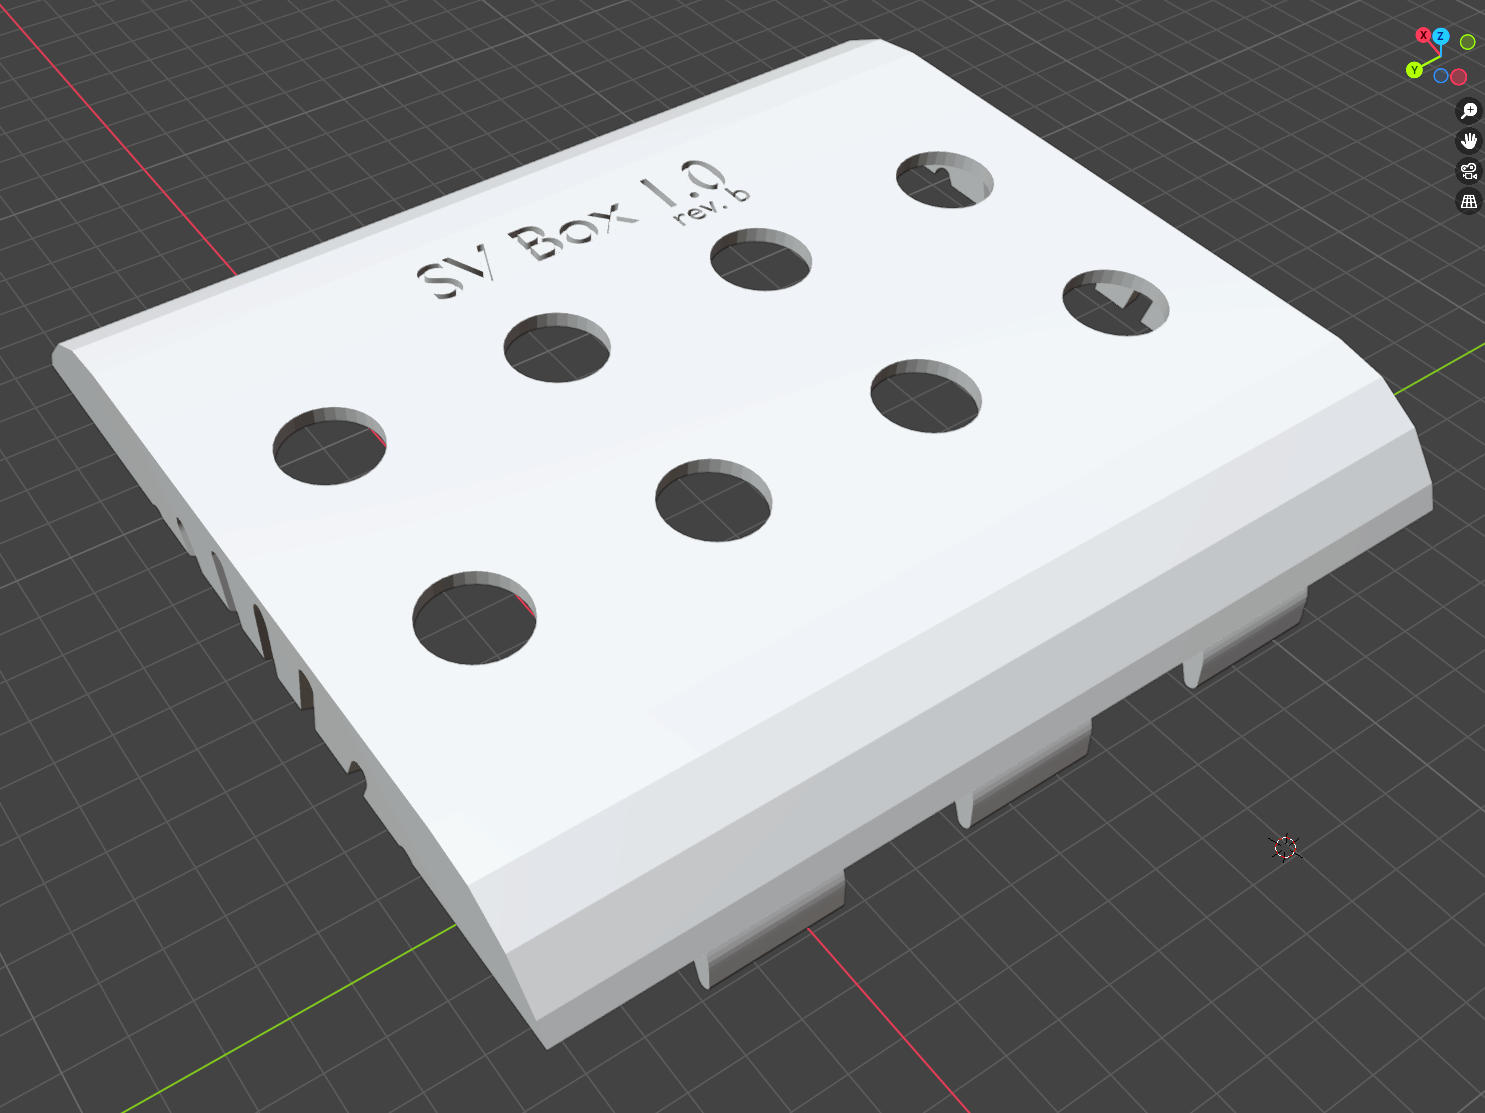 |
For each of these three parts, you'll find different file formats in the Resources > Models section:
.stl: The actual 3D model, useful for modification (using e.g. Blender or use with your 3D printer's software (e.g., Ultimaker Cura).3mf: A project file for Ultimaker Cura with the print settings used for our prototypes.ufp: The file used directly by the 3D printer (check the printer model in the corresponding*.3mffile)
How to Print
To print a 3D object, you start with the 3D model. In our case, you need to print three parts: base, panel, and cover. You can find the 3D models in the Cases & 3D Models section into the resources page.
After downloading, open them with your 3D printer's software, such as Ultimaker Cura if you have a compatible printer. Once the 3D model is loaded, you can adjust the print settings. We recommend experimenting with support settings (breakaway) to reduce print time.
You can find an example of the settings used for our prototypes in the resources page as *.3mf files, which can be opened with Ultimaker Cura.
Once you're happy with your print settings, export the print file. The file should be exported to a USB stick. After ejecting the USB stick from your computer and inserting it into the 3D printer, you can proceed to print your object. For more detailed instructions, refer to your printer software's guides.
To optimize print time, we recommend printing the Panel and Cover in one go.
Simply load both *.stl models into the print software.
Once printing is complete, remove the support material (breakaway) using pliers, utility knives, and hooks.